
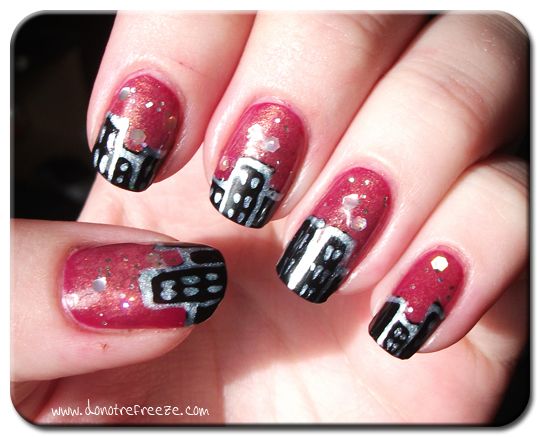
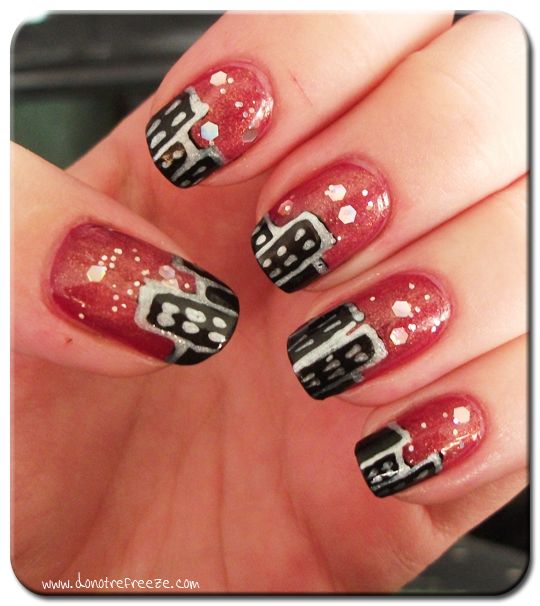
Not gonna lie, I totally and shamelessly pinched this design from Calee Loves Nails on Tumblr. I saw her picture and immediately knew I had to give it a go myself, but it didn't look nearly as good as hers so I decided to outline the buildings and add little windows to them with silver. Either way, since I took pictures of each stage as I was doing it, I figured it's about time I did another Easy Peasy post so here you go!
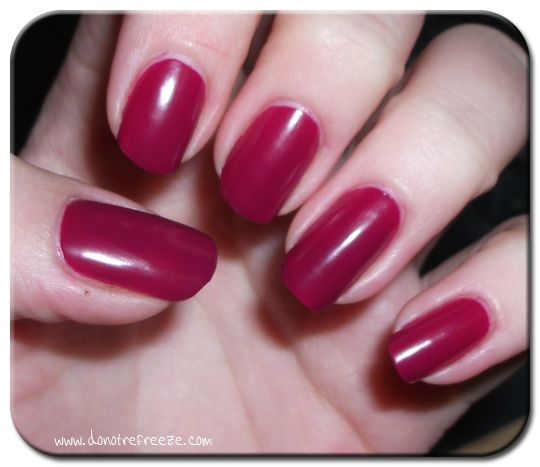
Start off with your chosen base colour - this would look great with most colours really! I'd like to try again with a navy, or dark purple or something. This one is Illamasqua's Vice.
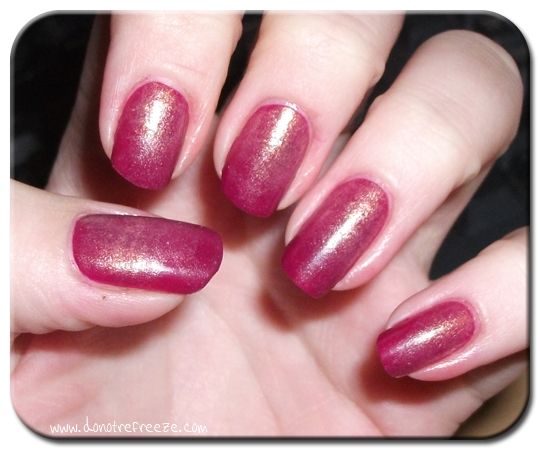
This step is completely optional, but I just wanted to add a little extra interest to the background colour, to try and make it look a bit more 'cloudy' if you like. I just sponged on a little bit of Pure Ice's Twinkle, a sheer peach shimmer.
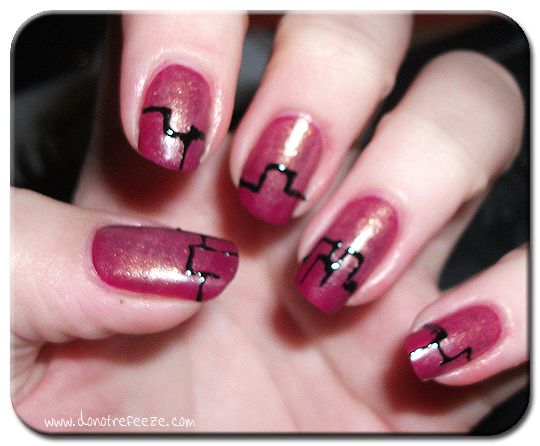
Once your base colour is dry, use a black nail art pen/liquid liner/whatever you use to mark the outlines of where your buildings are going to go. I decided to do this before adding the glitter just to make sure I didn't get glitter in the areas where I wanted to add buildings, if you see what I mean. Apologies for the blur in this one, it looked sharp on my camera LCD but apparently not when I got it onto the computer!

Now go ahead and add your glitter! I used BYS's Kinky Pink as it has a sheer base with multiple sizes of glitters including those big sexy hex glitters to act as stars. If you don't have a polish like this, you can of course improvise and apply large hex glitters by hand to a base of clear polish (to make it stick), or you could use rhinestones, or even just paint in your own stars with silver or gold polish and a dotting tool or similar.
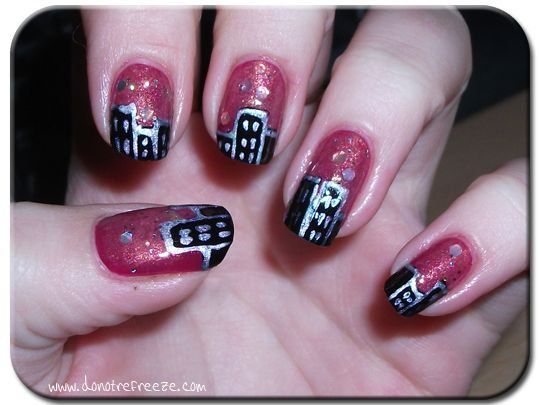
The next step is to fill in your building outlines with a black polish. I stupidly didn't take a picture at that stage, but it just didn't look right because I didn't leave small gaps between the buildings like the original artist did. To save it and make it more obvious what it was supposed to be, I just outlined the buildings with a silver nail art pen and added in little windows.
And that's pretty much it! I hope you enjoyed, sorry, I'm a bit rusty with this whole tutorial lark :)

That is so cool! I'd never think to do anything like it, I think your version looks really nice as well as the original :)
ReplyDeleteIt is a cute idea!
ReplyDeleteThat looks so neat! I love how the glitter makes a night sky.
ReplyDeleteSo cute! I love the base color with twinkle on it and your buildings look great! I'm going to have to attempt to steal it also..
ReplyDeleteI love this mani!!
ReplyDeleteThat's awesome. :)
ReplyDeletethis os so cool! yay for the return of easy peasy nails xx
ReplyDeleteLooks fab, love the glitter polish you used!
ReplyDeleteI have awarded you with a blog award! for being one of my favourite blogs! check it out here:
ReplyDeletehttp://charlies-wonderland.blogspot.com/2011/09/my-first-blog-award.html
XX
Charlie
This is so cute!!! I love it!
ReplyDelete