
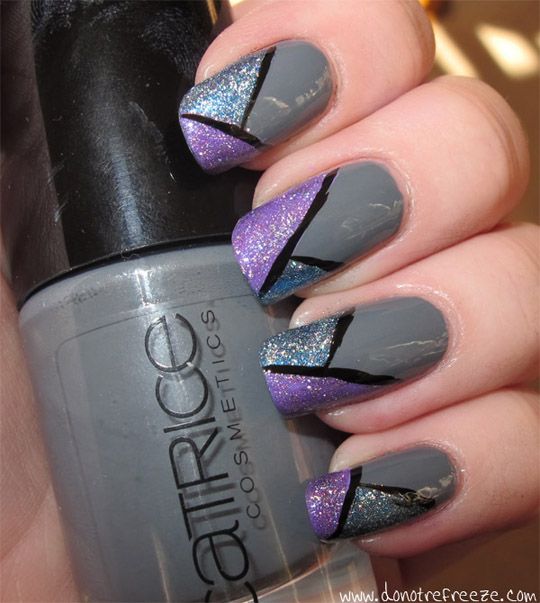
Pick your colours out before you start. I used a grey for the base, I think a dark grey works well here because it offers enough of a contrast against the bright tip colours, but I didn't want to use black because I knew I'd be outlining the tips in black. Choose two holographic or glittery polishes for the tip design - or indeed holographic glitter! You may also want two opaque creme polishes of the same shade family to use underneath your holographic/glitter ones to make them stand out even more. I've done this, but you can certainly choose not to if your holo/glitters are opaque enough to stand up on their own.
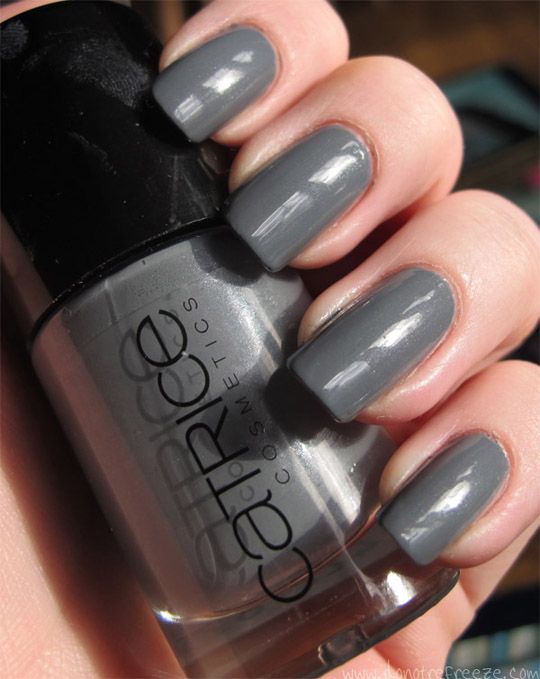
After applying a clear base coat, paint your base colour. I used two coats of London's Weather Forecast by Catrice. I have a handful of different grey polishes but this one really stands out thanks to the almost-hidden silver shimmer in it. It just adds something a little bit different to what would otherwise be a plain grey creme.
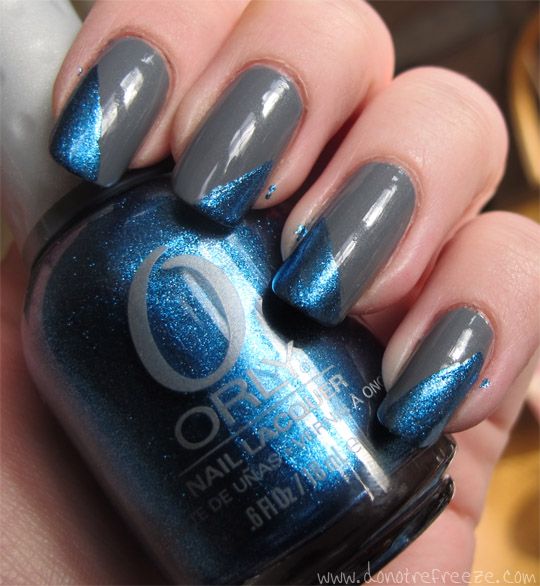
Once your base coat is dry, take your first colour - the base for your holo/glitter, or skip this step if you're using the holo/glitter straight away. My first colour is blue, and as my base blue I used Orly's Sweet Peacock. Paint one corner of the each nail diagonally with this colour - vary the side of the nail, size of the area and the angles as much as you like - I prefer it to look mismatched.
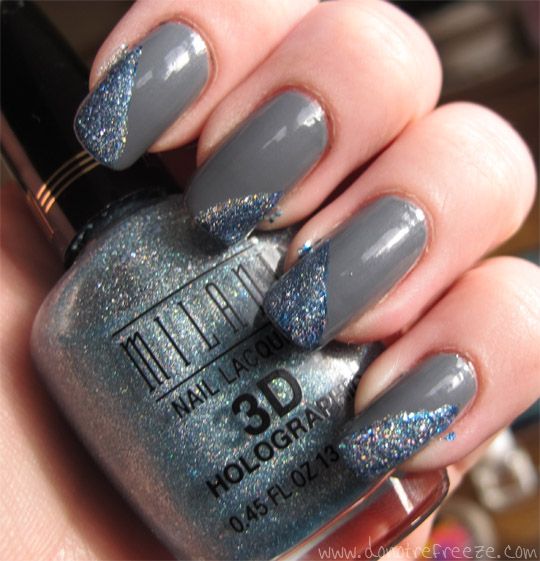
Now, top that colour with your first corresponding holo/glitter. This is Milani 3D Holographic in Cyberspace.
Once the first colour is dry, repeat the process of base colour and holo/glitter on the other sides of each nail. My second colour was purple, and my purple base colour was Illamasqua Jo'Mina...
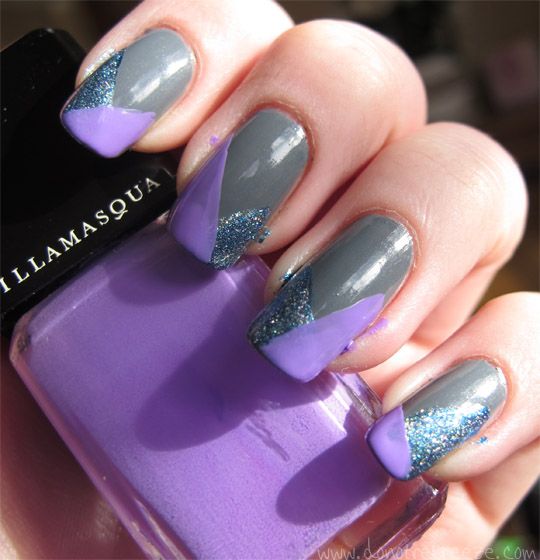
...and my second holo was Milani 3D Holographic in Hi-Res.
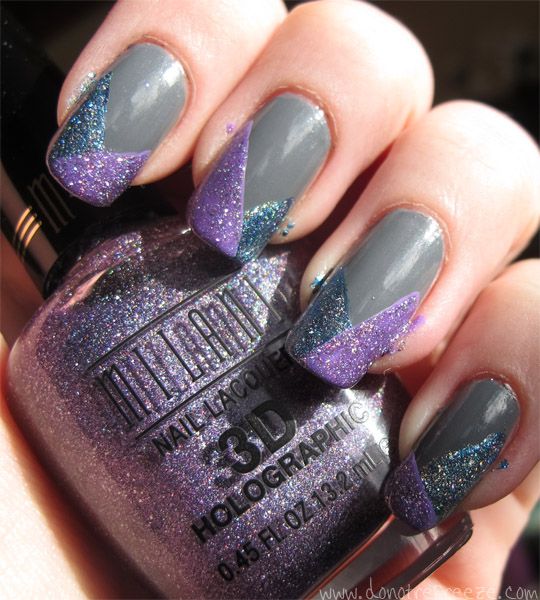
Once the second colour is dry, outline the corners in black using your preferred method. I use a black nail art striper pen, but feel free to use liquid eyeliner in a pinch!
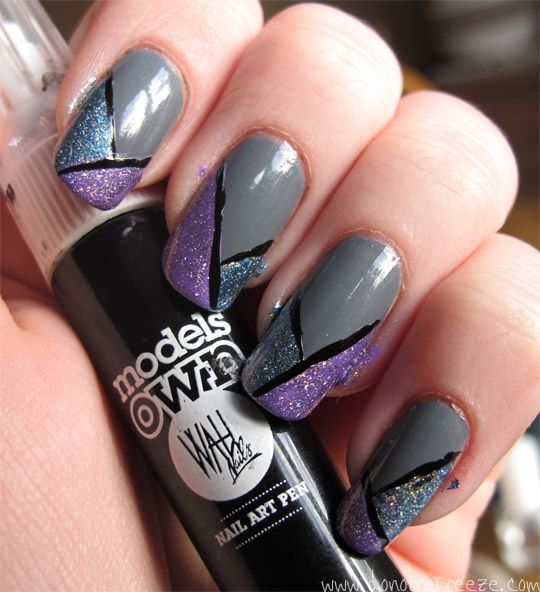
Once the lines are more or less dry, apply a quick drying topcoat to seal your design. Try to resist the temptation of applying topcoat whilst the black lines are still wet as they can be prone to smudging and ruining your design. Clean up any polish on your fingers using your preferred method (a cotton bud dipped in polish remover works just fine), et voila!
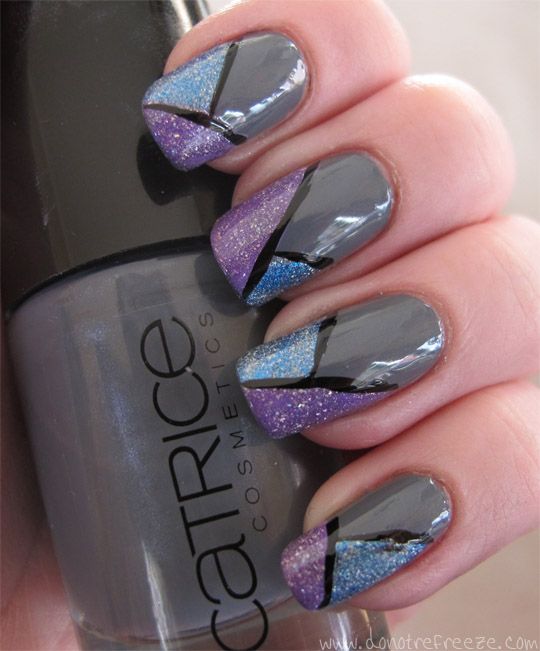
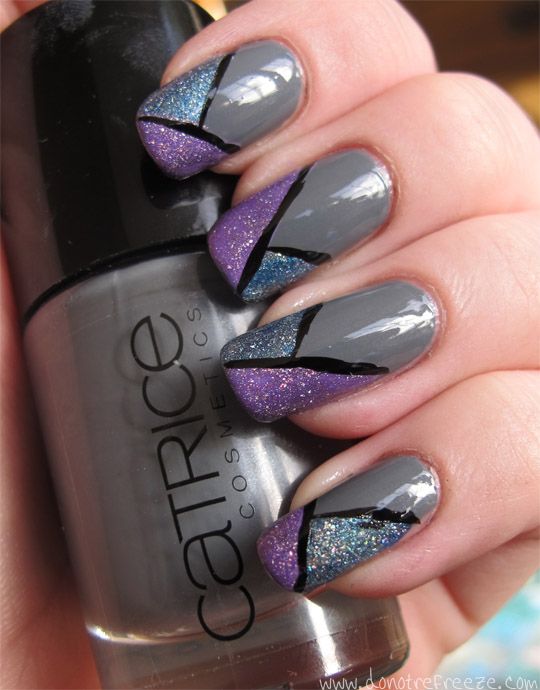
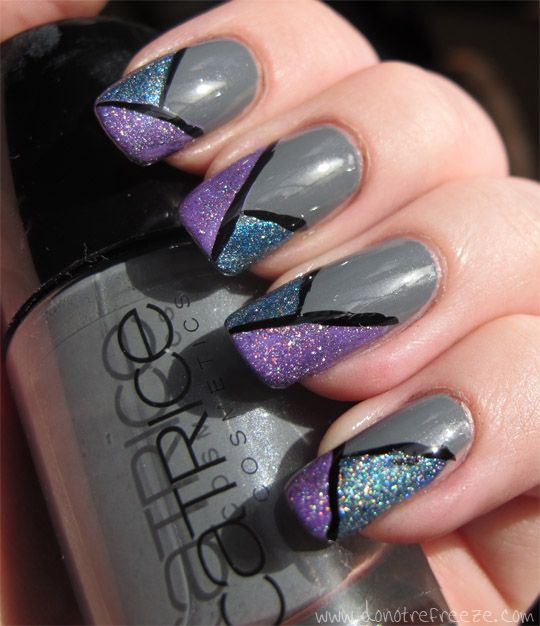
Really hope you enjoyed this criminally simple Easy Peasy/Tips with a Twist hybrid nail tutorial. Do let me know if you try it out, I'd love to see! :) x

This is very pretty! Such a good idea to use Milani holos
ReplyDeleteThank you :) yeah, I love the Milani holos but sometimes I just can't be bothered to build up the 3 coats they need so I like to experiment with using them in other ways!
Deletethis does not only look gorgeous but it's also easy! doesn't need the lines to be strictly straight to look beautiful - great job!
ReplyDeleteThanks! I try to only ever post nail tutorials that are really easy :)
DeleteThis is gorgeous! xoxox
ReplyDeleteThanks! :)
DeleteWow wished i had a steady enough hand to do designs like that. Look fab!
ReplyDeletewww.allylae.com
Thank you :) although you barely need a steady hand at all! You should try it!
Deleteoh wow, this is amazing and i love the colours you picked! ill definitely give it a go sometime soon :) xx
ReplyDeleteThanks so much! Do show me when you try it :) x
DeleteI absolutely love this, all the colours you used are gorgeous! :)
ReplyDeleteFrances x
http://francescassandra.blogspot.com
Twitter: @Francesss__
Thank you :) I wish we could get awesome holographic polishes in the UK like this!
DeleteLooks fab! xxx
ReplyDeletewww.misslv.com
So cute! Might have to give it a go!
ReplyDeleteDefinitely try it, it's so easy!
DeleteAwesome!
ReplyDeletei really love this mani!!
Thank you so much! :)
DeleteLove this, your nails are looking super long again! xx
ReplyDeleteThanks! Yeah it helps that I haven't been waitressing since Christmas :) haha x
DeleteVery cool! Reminds me of stained glass.
ReplyDeleteOh wow, yeah it is a bit isn't it I hadn't even noticed :)
DeleteThis is so pretty! x
ReplyDeleteThank you :) x
DeleteI love the effect, its so pretty!
ReplyDeleteCarissa xx
Vanilla Crush Blog
Thanks! It's super easy :) x
DeleteLove the color combo so cute!
ReplyDeleteWell that looks a little bit awesome! xx
ReplyDelete