
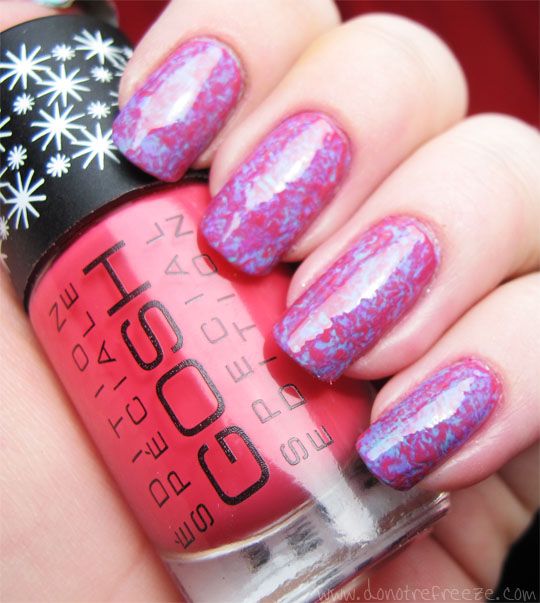
Definitely feel like a bit of a fraud labelling this as a tutorial because now I look at the photos it seems pretty half-arsed, but I promise that it's because it's so bloody easy! Haha. As a follow-up from my post about Saran Wrap nails last week, I tried it with two different colours on top like I planned and figured why not take a couple of photos during the process?
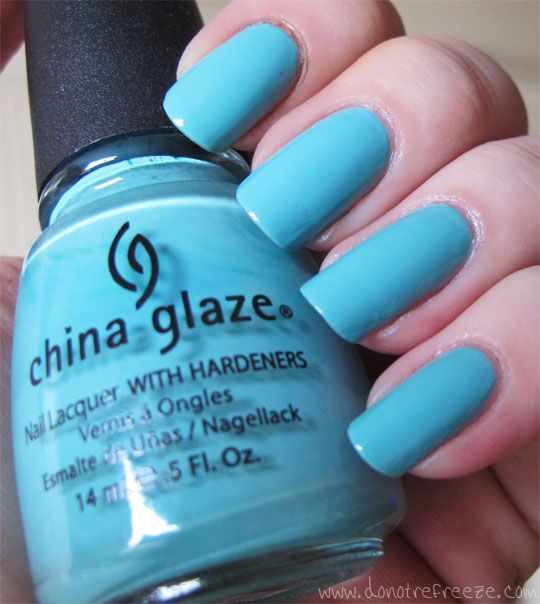
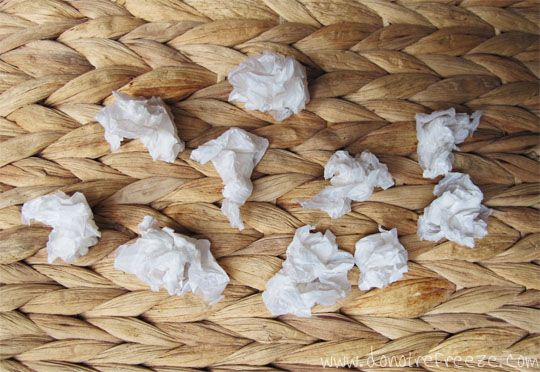
So, start off with your base colour - I chose China Glaze For Audrey. You want this to be properly dry before you continue; leave it overnight if you can, or at least a couple of hours after using a quick dry topcoat. Next, grab some scissors and cut yourself 10 squares of cling film (saran wrap!), or a plastic carrier bag from a supermarket. Make the squares a few times bigger than the size of your nails. Having tried with both, I actually prefer using a carrier bag as it's less of a pain to pull about and cut than cling film but you still get the same effect. Now scrunch up all your little squares into balls, like so:
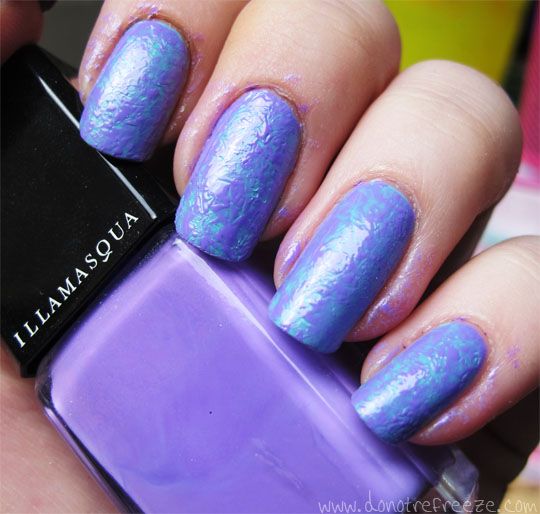
You'll need to work one nail at a time for this part, as it's important that your secondary colour is fully wet. Paint one nail in your chosen secondary colour (I used Illamasqua Jo'Mina), and immediately grab a cling film ball and just dab away at your nails, as much or as little as you see fit. The cling film will lift up patches of the secondary colour to reveal the base colour underneath.
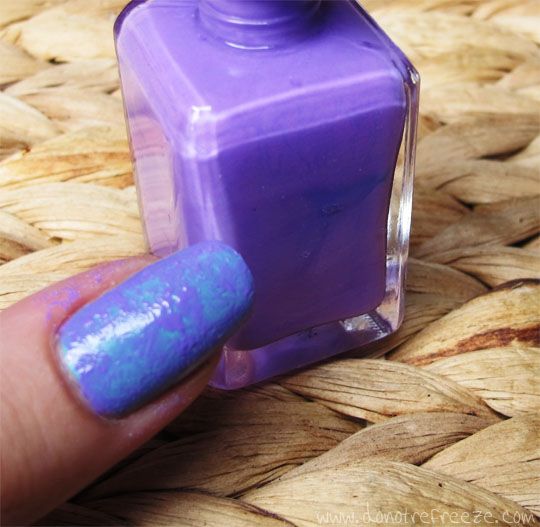
After you've repeated this for all 10 nails, your fingers will be pretty messy but you'll be left with a pretty cool effect on your nails. You can see in the photo below that lifting the polish up leaves quite a textured finish - if you like that, feel free to skip topcoat but I think smoothing it out with a topcoat makes it look more marbled. Don't forget to clean up the edges!
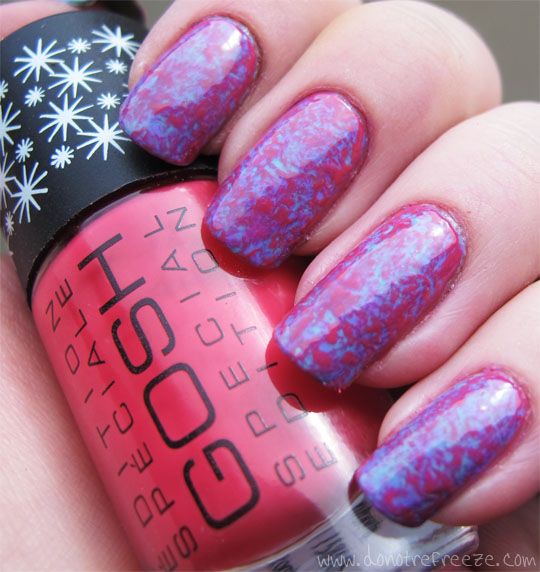
You can leave it there if you want to, or you can go back later and add a tertiary colour. I used GOSH Spot On! Pink*. I like the finished look, but wonder if perhaps I should have used all 3 polishes in a different order because the pink seems to swallow a lot of the purple and blue. I think it might have looked better with the pink as the base colour, blue as secondary and purple as tertiary... but hey, new techniques are all about experimentation!
Have you tried the saran wrap technique yet? Are you loving or loathing it?

Absolutely gorgeous and so easy to do. :)
ReplyDeleteI haven't tried the technique myself yet. It looks pretty cool with three colours, I think :)
ReplyDeleteSuper cool :D And loving the look of that GOSH!! xxx
ReplyDeleteI'll give them a try! They're super original!! Kisses from Spain!
ReplyDeleteLove this look. I will definitely be giving it a try :)
ReplyDeleteI really like it with the pink on top, will have to give this technique a go soon :) xx
ReplyDeleteI love saran nails, I've always wondered what a triple layered saran mani would look like - I really like the outcome
ReplyDeleteAwesome! I was hoping you would do a little tutorial on it, I know it is simple but I always feel more confident if I've had someone step me through it like this :)
ReplyDeleteLooks like you'd have to spend hours for that effect! I think even I could manage this one :D
ReplyDeleteMight have to try this myself ♥.
ReplyDeleteThis is such an awesome technique! Can't wait to try it myself!
ReplyDeleteOutstanding color combo!
ReplyDeleteooh do love! will be trying this for sure.
ReplyDeleteLove this manicure!
ReplyDelete